


About Photoshop Overlays
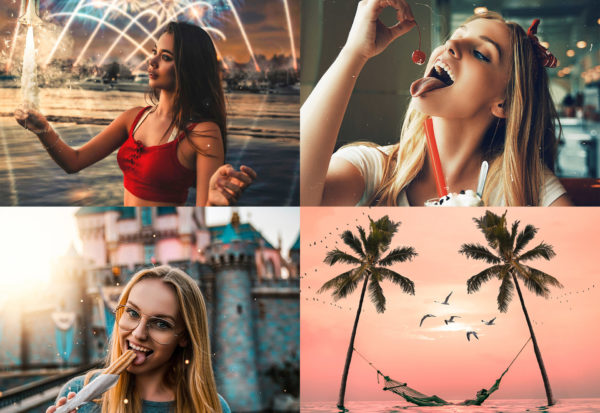
Photoshop Overlays are visual assets that can be added on top of an image after the fact. Typically, these are effects that weren’t present when the photo was originally taken. Overlays can take the form of lens flares, bokeh, snowflakes, sun flares, fireflies, clouds, light leaks, film scratches and dust, etc. These are incredible tools to add texture to photos and to create a truly immersive experience. The goal is to use overlays to tell an even better story.
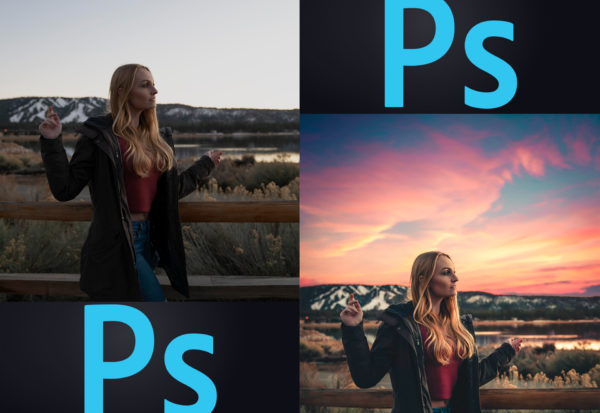
How do you use overlays in Photoshop? Once you have found the concept or theme you want, you can simply add in and impose the overlay, which often times has a transparent background, onto the image by clicking and dragging the object to the desired spot on the photo. It’s important to note that you may need to change the layer type to “Screen” or “Lighten” from the default “Normal” to let Photoshop do its work. Overlays will often be a .png or .jpg file type. When it’s a .png, you won’t need to change the layer type most of the time. If the file type is a .jpg, the asset will commonly have a black background, in which case you will need to change the layer type to “Screen” or “Lighten” to hide the dark background.
Can you do Overlays in Lightroom? Technically, you can. We have come across a few costly plugins and pricier premium add ons, but to be honest it’s quite hard to beat the capabilities and ease of use in Photoshop. Photoshop has unmatched simplicity when adding in overlays, you can simply drag and drop the assets wherever you want. Our overlays were designed perfectly for Photoshop; the quality and size were made to run with the platform every well!
What are the best Photoshop Overlays? The best Overlays are moldable, high resolution, and add the right amount of texture or spark to an image. You don’t want the overlay to TAKEOVER the photo entirely, but overlays are best used and executed when they accentuate an image or help the image to tell a story even better.